How To Screen Record On Windows

Screen recording is one of the most important tools for anyone who works with computers. Whether you’re a video editor, a game developer, or a teacher, screen recording allows you to capture exactly what’s happening on your computer screen.

In this article, we’ll take a look at how to screen record on Windows, from setting up your environment to troubleshooting common issues. Let’s get started!

Introduction to Windows Screen Recording

Screen recording is the process of capturing video footage of what’s happening on your computer screen. This can be used for a variety of purposes, such as creating tutorials, recording gameplay, or making presentations. Screen recording is different from screenshotting, which is just taking a still image of your computer screen.

The good news is that Windows has a variety of excellent third-party software you're able to record video and audio from your screen, a couple of which are 100% free.

In this article, we’ll go over your options, so you can choose the one that works best for you.

Setting up Your Screen Recording Environment

Before you start screen recording on Windows, it’s important to make sure your environment is set up correctly.

This includes making sure your computer has enough processing power to sufficiently able to run your screen recording software at the same time as the other software you wish to record.

It also includes making sure you have the latest stable version of your motherboard drivers installed correctly.

If you're not sure, consult your manufacturer's support section on their website. Many of them will have a specific page for your machine.

If you’re using a laptop, make sure it’s plugged in and running at full power. This will ensure that your screen recording isn’t interrupted by battery drain.

You should also make sure you have the latest video drivers installed, as these can improve the quality of your recordings.

Windows Media Encoder - Now Discontinued

Windows used to come with a built-in screen recording tool called Windows Media Encoder.

Although, this tool was fairly basic, it was great for quickly capturing footage of your computer screen.

You may be able to search Google to find an old version of Windows Media Encoder, however I would recommend using other tools as WME hasn't been updated for quite some time and you can never be 100% sure you're downloading a version that's free of viruses.

Using Third-Party Screen Recording Software

If you need more advanced features than Windows Media Encoder could provide (even if you took the chance to download it,) you can always turn to third-party software.

There are a variety of options available, from free tools to paid professional-grade software.

If you have the budget, Techsmith's Camtasia Studio is a popular choice.

It is quite pricey ($300) but comes with a ton of features, including a full-featured video editor that supports effects like transitions, blurs, annotations, and will even make your video interactive with a "quiz" feature.

If you can't stretch to Camtasia Studio, then an excellent free option is CamStudio.

Although the name sounds familar, it's actually nothing to do with TechSmith but is a free screen recorder that's actually been around for over 20 years.

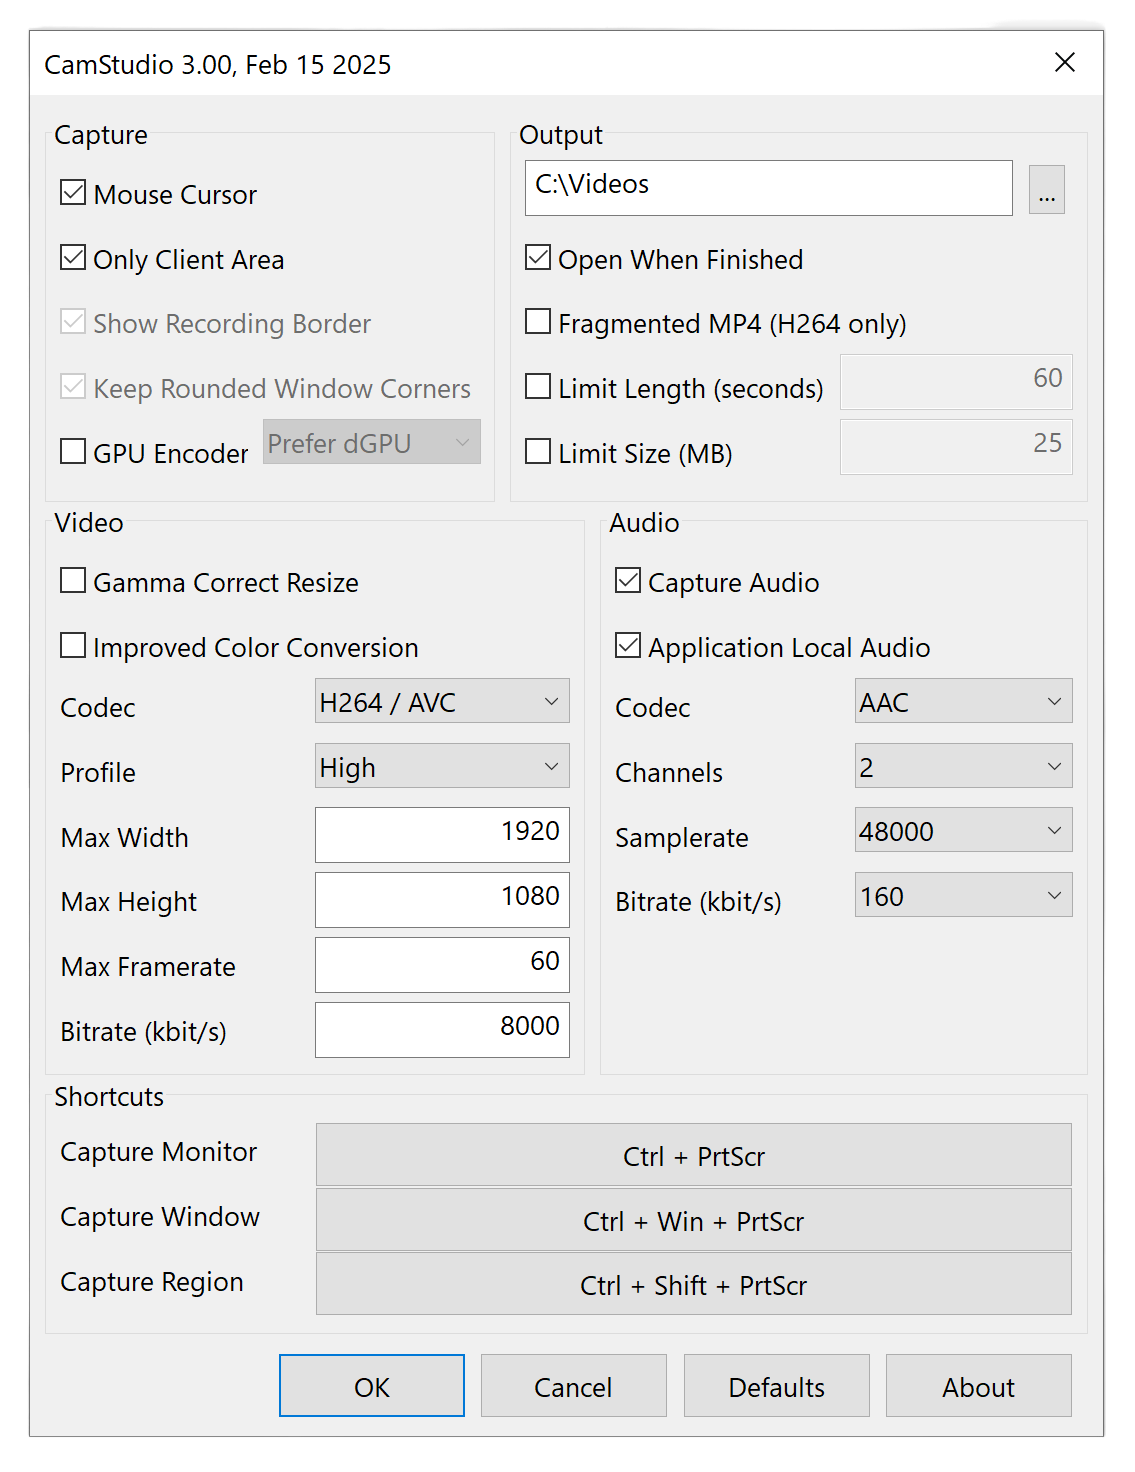
CamStudio provides an easy-to-use interface for capturing video and audio from your computer and with the latest V3, now creates industry-standard MP4 videos that can be played natively in all modern browsers or for uploading into third-party video hosting services, like YouTube, for worldwide distribution.

Even though it's free, CamStudio is now back under development with V3 being rebuilt - from scratch - to take advantage of the updates within Windows.

Thanks to its ease-of-use, it's perfect for creating tutorials or presentations.

You can download your copy of CamStudio by clicking this link here.

Best Practices for Screen Recording on Windows

When it comes to screen recording on Windows, there are some best practices you should follow.

First and foremost, make sure you have enough free disk space on your hard drive.

Screen recordings can take up a lot of space, especially if you are recording long events like webinars, so you don’t want your computer to run out of storage while you’re in the middle of recording. A USB external HDD could be an excellent investment if you plan to regularly record long events.

It’s also a good idea to close any programs you don’t need while you’re recording. This will help reduce the amount of processing power your computer needs to use, which will help to stop juddery video and audio, immediately improving the quality of your recordings.

Finally, a good tip to help reduce background noise is to make sure you wear headphones while recording.

Tips and Tricks for Screen Recording on Windows

Once you’ve got the basics of screen recording down, there are a few tips and tricks you can use to improve the quality of your recordings.

For example, you should use a high-quality microphone and make sure it’s positioned correctly. This will help ensure your audio is clear and consistent.

You can't go wrong with a RØDE lavalier (lapel) mic or you can search on Amazon (filter by 4 stars and up and organise by Average Customer Reviews) for the latest best selling, highly reviewed option.

You should also experiment with different recording settings.

For example, if your screen recording software gives you the ability you fine-tune your settings, you can try adjusting the resolution and bitrate of your recordings to get the best results.

Finally, if you’re using a third-party program like Camtasia Studio, you can take advantage of the program’s advanced features, such as adding annotations or customizing the user interface.

Advanced Screen Recording Features

Screen recording software offers a variety of advanced features that can help you create more professional-looking recordings.

For example, some programs allow you to add annotations or captions to your recordings. This is great for creating tutorials or presentations, as it allows you to highlight important points.

Other programs offer features such as real-time video editing, which can be used to trim or split recordings. Some programs also offer automated recording, which can be set to start and stop recording based on certain conditions. These features can save you a lot of time and effort, so it’s worth exploring them if you’re serious about screen recording.

Troubleshooting Common Screen Recording Issues

Screen recording can be tricky, and there are a few common issues you may encounter.

For example, you may experience audio or video lag during recording. This is usually caused by a lack of processing power or an outdated video driver.

Another common issue is choppy playback. This is usually caused by a low-quality recording setting or an unstable internet connection.

Finally, you may experience poor audio quality if your microphone is too far from the source. To fix this, make sure your microphone is close to the source and that it’s positioned correctly.

Conclusion

Screen recording is a powerful tool for anyone who works with computers.

With the right tools and some practice, you can quickly create great-looking recordings of your computer screen.

In this article, we’ve covered the basics of screen recording on Windows, from setting up your environment to troubleshooting common issues.

Now that you know the secrets of screen recording on Windows, it’s time to get started. Good luck!